Quality inspection for ASTM A403 Gr.WP304/304L ASME B16.9 pipe fittings and A182 Gr.F304/304L flanges
The APPLUS VELOSI inspector visited HEBEI HAIHAO HIGH-PRESSURE FLANGE & PIPE FITTINGS GROUP CO., LTD to perform final inspection for ASTM A403 Gr.WP304/304L ASME B16.9 pipe fittings and A182 Gr.F304/304L flanges at the end of the article, including visual, dimension, marking, color coding ,loading and PMI inspection.Here are some details about this inspection.
Visual inspection
Inspector performed visual inspection for pipe fittings, flanges,weldolets and fittings as per 10% of each item listed at the end of the article, no cracks, wrinkles, damage or any other unacceptable imperfections were found during visual inspection, the result was acceptable.
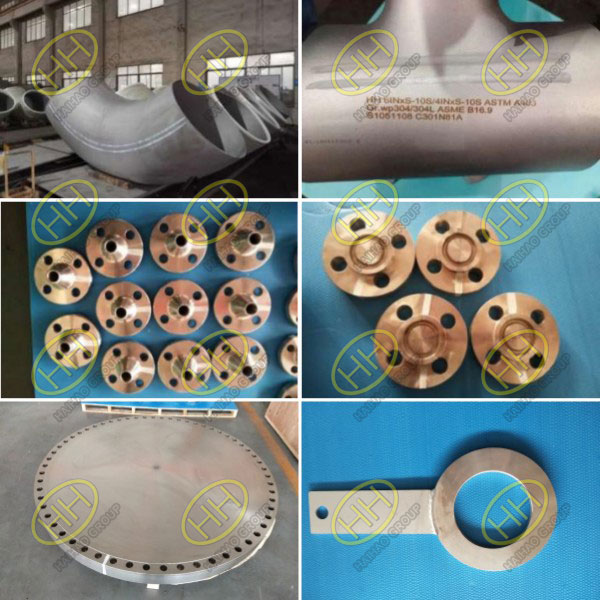
Visual inspection
Dimensional inspection
Before inspection, inspector verified the calibration status of applied measuring tools and found them to be within valid date, acceptable.
Inspector witnessed dimensional inspection for fittings as per 10% of each item listed in above sheet,dimensions including: OD, wall thickness, bevel angle, etc., the result was acceptable according to ASME B16.9,ASME B36.10 and ASME B36.19, etc.
Inspector witnessed dimensional inspection for flanges, weldolets and fittings as per 10% of each item listed at the end of the article, dimensions including: OD, ID,Thickness of Flange, Diameter of Bolt Circle, Diameter of Bolt Holes, Number of Bolts, Diameter of Raised Face, Raised Face Depth, Length Through Hub, Bevel angle of Welding Neck, wall thickness, etc., the result was acceptable according to ASME B16.9,ASME B16.5, MSS SP-97, ASME B36.10, ASME B36.19, and drawings,etc.
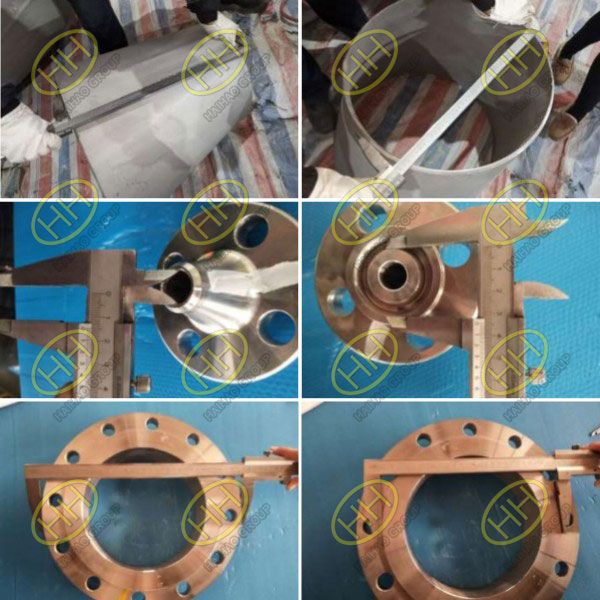
Dimensional inspection
Marking inspection
Inspector performed marking inspection for fittings as per 10% of each item listed in above sheet, the following marking information was shown on fittings:”Manufacturer’s name, Size, Schedule/ wall thickness, Material identification, Standard, Heat No., Ident No.,etc.”. The result was acceptable according to MSS SP-25 and client’s requirement.
Inspector performed marking inspection for flanges weldolets and fittings as per 10% of each item listed at the end of the article, the following marking information was shown on product: “Manufacturer’s name, Size,Flang Class, Schedule/ wall thickness, Material identification, Standard, Heat No., Ident No., etc.”. The result was acceptable according to MSS SP-25 and client’s requirement.
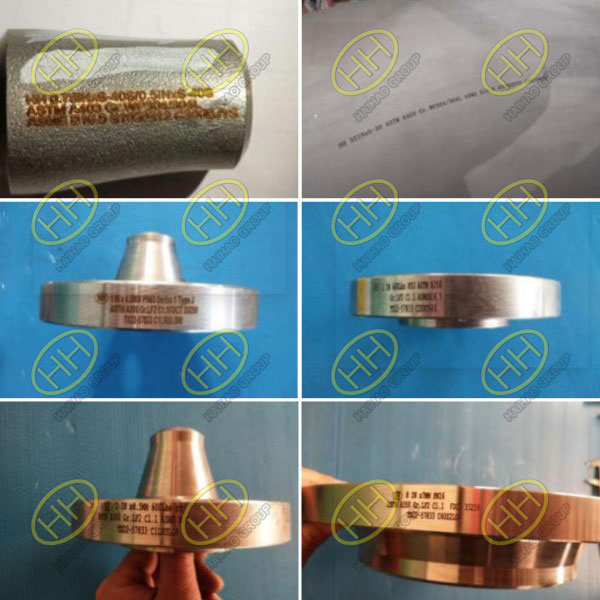
Marking inspection
Color coding inspection
Inspector performed color coding inspection for fittings as per 10% of each item listed in above sheet, the result was acceptable according to the requirement of project, the details were as follows: For LTCS fitting of material ASTM A420 WPL6, color coding should be two stripes pink, actual color coding was two stripes pink, acceptable.For SS fitting of material ASTM A403 WP304/304L, color coding should be two stripes white, actual color coding was two stripes white, acceptable.
Inspector performed color coding inspection for flanges weldolets and fittings as per 10% of each item listed at the end of the article, the result was acceptable according to the requirement of project, the details were as follows: For LTCS fitting of material ASTM A420 WPL6, color coding should be two stripes pink, actual color coding was two stripes pink, acceptable. For SS fitting of material ASTM A403 WP304/304L, color coding should be two stripes white, actual color coding was two stripes white, acceptable. For LTCS material ASTM A350 LF2, color coding should be one stripe yellow, actual color coding was one stripe yellow, acceptable. For SS material ASTM A182 F304/304L, color coding should be one stripe white, actual color coding was one stripe white, acceptable. For SS material ASTM A182 F316/316L, color coding should be one stripe brown, actual color coding was one stripe brown, acceptable.
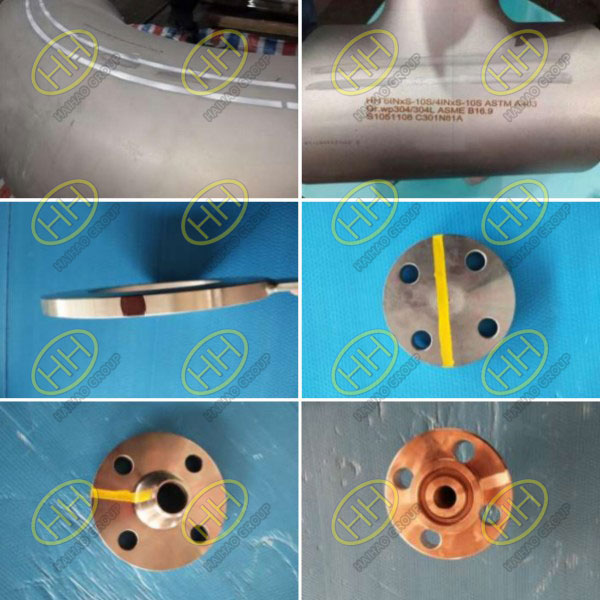
Color coding inspection
PMI inspection
Before inspection, inspector checked calibration status for applied test device and found it to be within valid date, acceptable.
Inspector witnessed PMI inspection for SS fittings as per 10% of each item listed in below sheet, the content of main alloy element Cr, Ni was within requirement of ASTM A403 WP304/304L, the test result was acceptable.
Inspector witnessed PMI inspection for SS flanges weldolets and fittings as per 10% of each item listed at the end of the article, the content of main alloy element Cr, Ni Mo, etc.was within requirement of ASTM A403 WP304/304L,ASTM A182 F304/304L and ASTM A812 F316/316L the test result was acceptable.
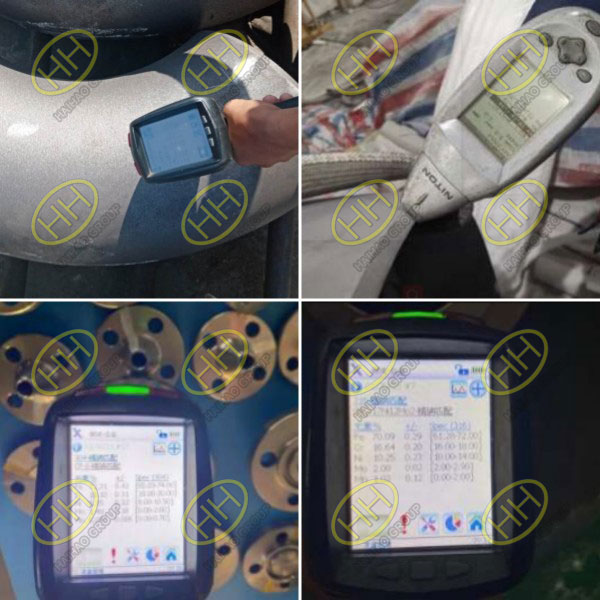
PMI inspection
Loading inspection
Inspector checked quantity for all packages , total 50 packages for all products were provided including 48Pcs Plywood Pallet and 2Pcs Plywood Case, the result was acceptable.
Inspector performed visual inspection for the 50 packages store in the warehouse, all packages were in good condition, fittings bevel ends were protected and fitting bodies were wrapped by plastic woven bag to avoid damage, the result was acceptable. Packing list was attached on the products, acceptable. Inspector supervised the loading process of the products from warehouse to container, products were lifted and transported from warehouse to container by forklift, the result was acceptable. Strapping tapes was used to avoid cargo moving, all packages were loaded into 8 containers and the containers were sealed, seal no. was checked, acceptable.
