Mechanical properties and testing methods for heat-treated metals
The mechanical properties of metallic materials play a crucial role in determining their performance and durability in various applications, especially in the field of mechanical engineering. These properties include strength, plasticity, hardness, impact toughness, and fatigue strength. Understanding and testing these properties help ensure that the right materials are selected for specific parts and functions, optimizing their performance under different conditions.
1.Strength and Strength Indicators
Strength refers to the ability of a metallic material to resist plastic deformation or fracture when subjected to a static load. The strength of metal is typically expressed as stress, which reflects the internal force within the material opposing external forces. Yield strength is commonly used as the primary indicator of material strength.
Yield strength represents the stress at which a material begins to deform plastically, without an increase in load. It is further divided into upper yield strength (Reh) and lower yield strength (ReL). In most cases, components should not undergo significant plastic deformation, making higher yield strength desirable, as it indicates better resistance to deformation and improved performance.

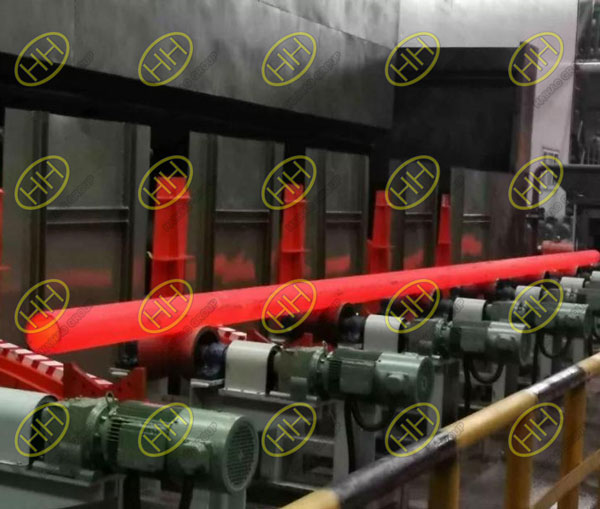
The heat treatment process of seamless steel pipes
2.Plasticity and Plasticity Indicators
Plasticity is the ability of a metal to undergo significant plastic deformation before fracturing. It is often measured using elongation after fracture (A) and reduction of area (Z).
Elongation after fracture (A) is the percentage increase in the length of a material sample after it is stretched and fractured, relative to its original length.
Reduction of area (Z) is the percentage reduction in cross-sectional area at the fracture point compared to the original cross-sectional area.
Reduction of area is often considered a more reliable indicator of plasticity, as it is less affected by sample size. Materials with good plasticity are easier to shape and form into complex components. When subjected to large impact forces, they deform plastically rather than fracture, providing greater safety in use.
3.Hardness and Hardness Testing
Hardness is the ability of a metal to resist localized plastic deformation or damage. There are several common hardness testing methods, including the Brinell, Rockwell, and Vickers hardness tests.
Brinell Hardness Test: This method uses a hard alloy ball as the indenter and applies a fixed load to the metal surface for a specified period. The hardness is determined by measuring the diameter of the indentation. The larger the indentation, the lower the hardness. The Brinell test provides accurate hardness values but causes significant surface damage, making it unsuitable for delicate parts.
Rockwell Hardness Test: This test uses a diamond cone or steel ball indenter, with hardness measured based on the depth of the indentation. There are different Rockwell scales (A, B, C) for various materials, with the C scale being the most common. Rockwell hardness testing causes less surface damage, making it ideal for thin-walled parts, although it is less precise than Brinell testing.
Vickers Hardness Test: In this method, a diamond pyramid-shaped indenter is used. The hardness value is calculated based on the diagonal length of the indentation. The Vickers test is suitable for thin-walled parts due to its smaller indentation, though it requires more complex measurements.

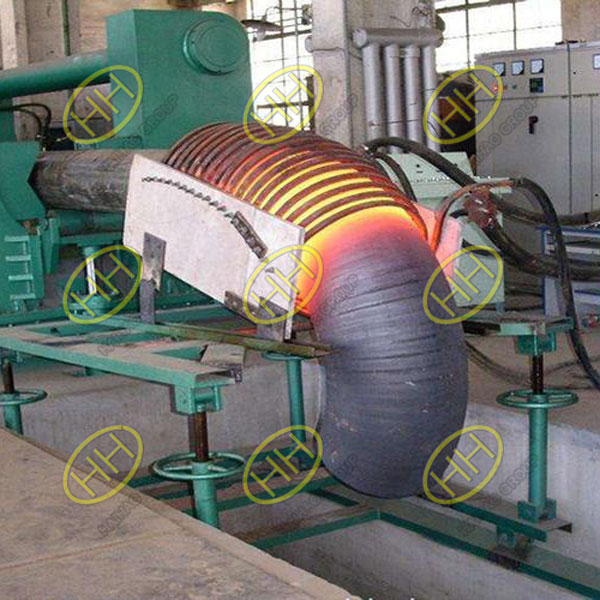
heat treatment for ASTM A234 GR WPB pipe fittings
4.Impact Toughness and Fatigue Strength
Metals in real-world applications often face not just static loads but also impact and alternating loads. Testing the mechanical properties under these conditions is critical to ensure long-term durability and performance.
Impact Toughness: This refers to the metal’s ability to resist fracture under sudden, high-energy impacts. It is typically measured through bending tests. The metal’s resistance to impact depends on its toughness, and repeated impacts further test its strength and plasticity.
Fatigue Strength: Fatigue is the gradual weakening of metal under repeated low-level stress, eventually leading to fracture even if the stress is below the yield strength. Fatigue failure is one of the main causes of part failure in machinery. Fatigue strength is influenced by factors such as working conditions, material structure, and the stresses endured by the component. Enhancing part design and employing surface strengthening techniques can significantly improve fatigue strength.
Understanding the mechanical properties of metals—such as strength, plasticity, hardness, impact toughness, and fatigue strength—is crucial for selecting the right materials for engineering applications. Testing methods like the Brinell, Rockwell, and Vickers hardness tests, as well as tensile and impact testing, help ensure that materials perform as expected under various loads and environmental conditions. These tests guide engineers in making informed material choices that enhance the durability and safety of mechanical components.
